What a great idea! I loved that I would be replacing something I bought regularly, used, and then threw away. When I went searching the internet about dryer balls I really learned a lot. There are A TON of way to make dryer balls!! For people who knit, for people who are just DIYers. You can make them with yarn or some people dare make them out of old 100% wool sweaters. Great ideas, but I needed a crochet plan.


I stumbled upon a great blog post about dryer balls that, at the time, didn't have very good instructions for them. Good basic guild lines that I really didn't have a hard time adjusting to work for me. I made one pretty large maroon dryer ball for myself and then a few years later created three more for my in-laws. They loved them as much as I did! Not only that but my mother-in-law wanted to custom order a bunch from me. 36! Wow! 36 dryer balls was a lot.
When I went searching through my patterns again to find the dryer ball pattern I had used I couldn't find it. I did my project without searching for the first pattern I used. It took me so long to find that link above it was crazy, but it wasn't my only problem. I had to purchase new yarn and somehow calculate out 36 dryer balls. I needed a solid plan and a pattern I could do 36 + times over again and again. I bought two balls of 100% wool Patons Classic Wool Worsted and experimented.
This pattern is made using Patons classic wool worsted weight yarn 100g and I used a variety of colors. Its what I used to make the pattern so its what I recommend.
Also used a 4.00mm hook
Also used a 4.00mm hook
Lets get down to it
Take your yarn and starting with the outside strand wind it up into a good size ball, about the size of a small tennis ball. Keep your yarn nice and loose, If you wind it too tight then your balls will end up being a little on the small side for the ball cover pattern. Starting with the outside strand makes making your second ball a ton easier, just trust me guys.
When your done with the first ball then pull your center string and, you guessed it, wind it up into a nice little ball. Having both the balls side by side it was easy for me to adjust their sizes to get them both about the same size. Leave a nice long tail and weave it all over your ball. The longer the string the more you have to weave and the less likely your ball will come unwrapped.

Easy part over.
Crochet a cover
Keep in mind that you want your dryer ball to fit nice and tightly snug inside the covering.
1. Magic loop, 6 SC in magic loop (6)
2. 2 SC in each ST around (12)
3. *2 SC, SC next ST* repeat around (18)
4. *2 SC, SC next 2 ST* repeat around (24)
5. *2 SC, SC next 3 ST* repeat around (30)
6. *2 SC, SC next 4 ST* repeat around (36)
At this point I like to weave in my start strand (don't want to forget it!)
7-11. SC each ST around (36)
12. *SC decrease, SC next 4 ST* repeat around (30)
At this point place your wound ball of yarn into your covering
13. *SC decrease, SC next 3 ST* repeat around (24)
14. *SC decrease, SC next 2 ST* repeat around (18)
15. *SC decrease, SC next ST* repeat around (12)
16. SC decrease each ST around (6)
Weave your end through your six stitches and pull closed and weaved in end.
On To Felting
This is where the blog link from above comes into play, I did remember the felting method that she used and used it with these. Felting is a lot of work! I'll give you some basics of how I felt mine and then I'll give you some tid-bits of wisdom or you can head back to the blog I used. Down below is a link to her felting page.
prettystitches.wordpress.com/felted-wool-dryer-balls/felting

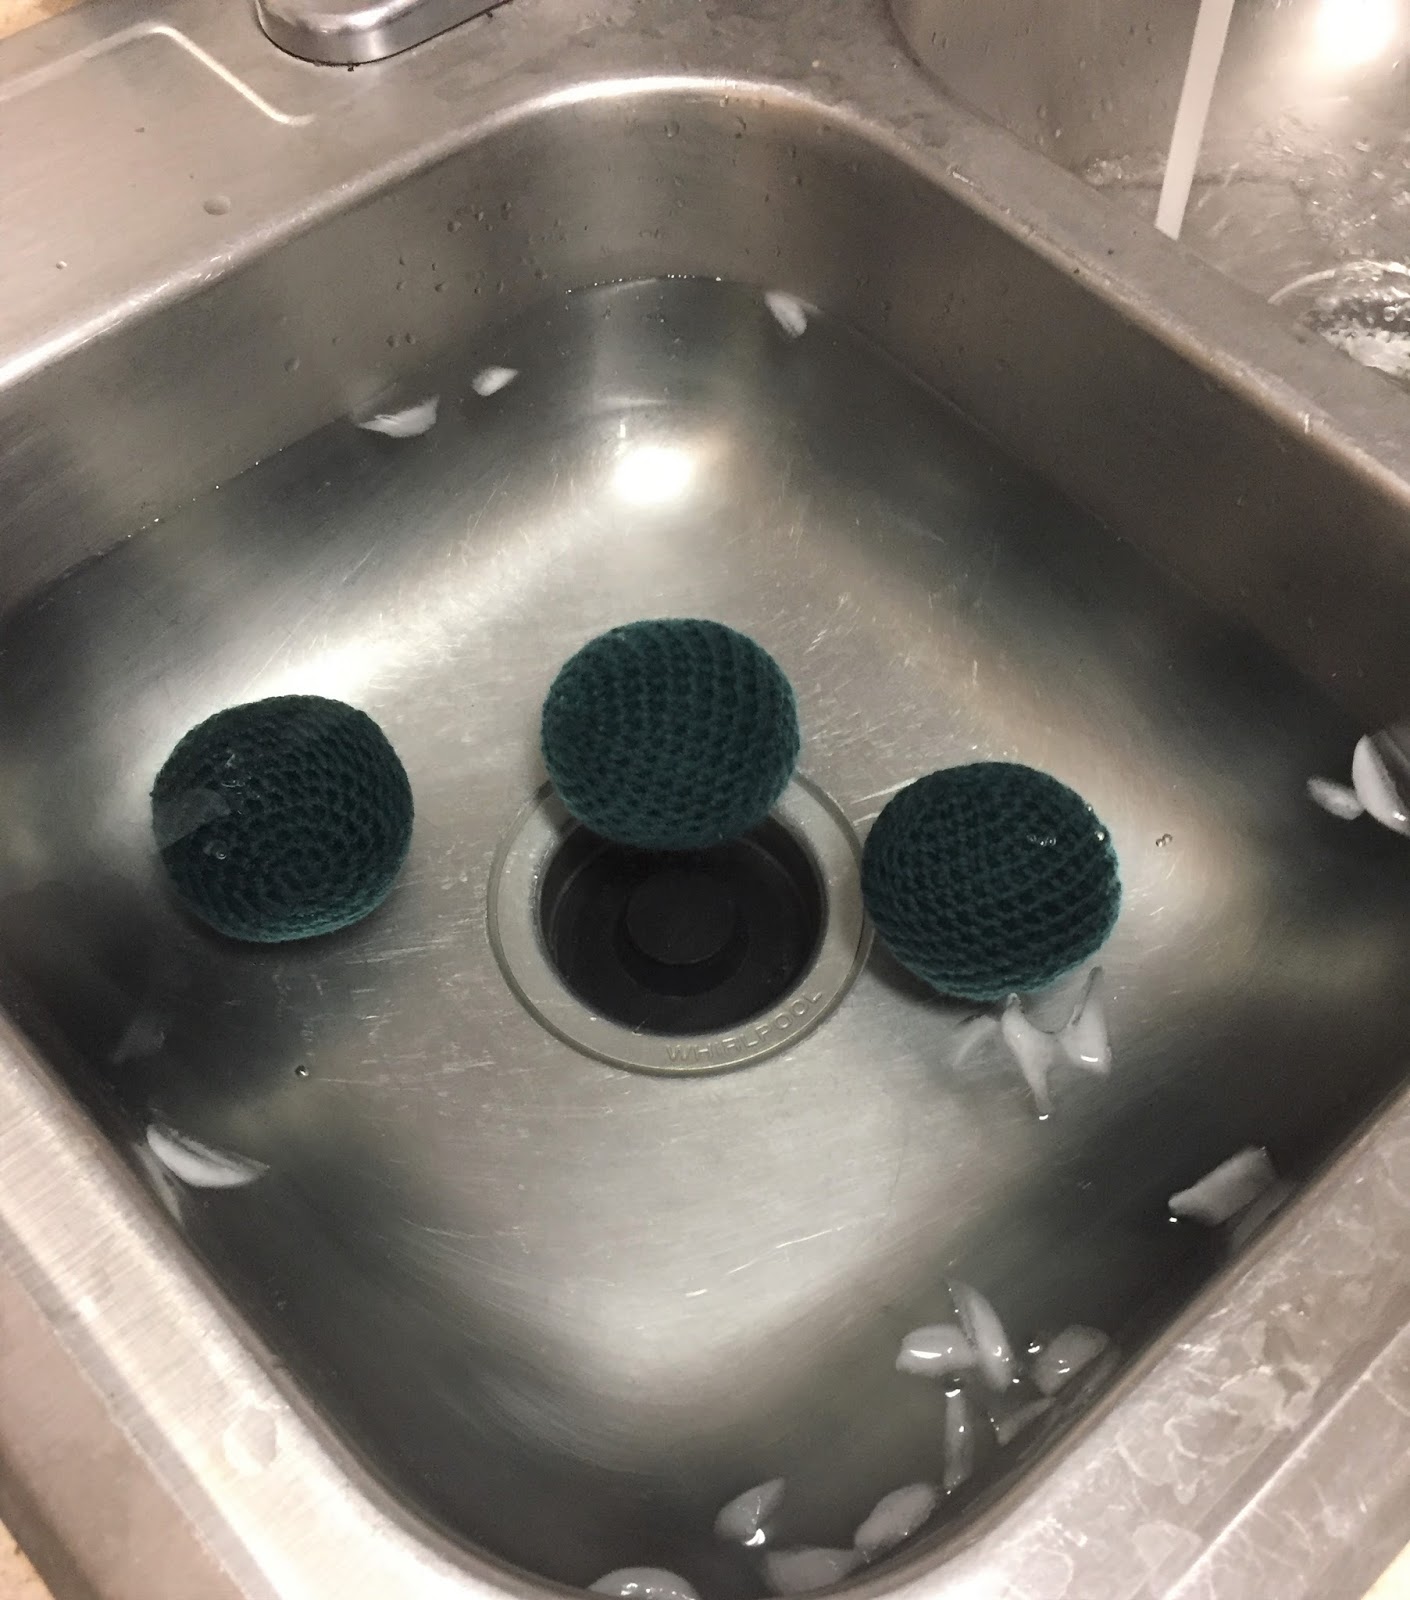
Alright, I am a cheater, I don't follow the whole process from above. I probably actually half it and let my dryer do the work over a LONG period of time. I boil a large pot and boiled all the balls of the same color. I hold them under the water with tongs to help them fill with the water. Let them boil for a few minutes and then throw them in an ice bath. This process is all about time. Let them sit in the ice water, I like to squeeze mine to fully empty the hot water from them and let the cold water completely in. Then repeat! squeeze out the cold water and throw them back into the boiling water to start all over. I do this probably four to five times. Then after coming out of the cold water for the last time I let them dry on a towel and rotate them to new dry spot or a new towel until they are dry. Then its off to the dryer!

Tid-bits of Wisdom
1. This boiling process comes with a certain smell. I imagine its what a hot wet sheep would smell like haha
2. Boil all the same color. Your water is going to draw a little bit of color from your yarn. DONT WORRY!!!! it doesn't mean your clothes will be colored in the dryer.
3. Don't expect great things right off the bat. Although I love dryer balls, the first few times of use there is still a little static.
When your done with the first ball then pull your center string and, you guessed it, wind it up into a nice little ball. Having both the balls side by side it was easy for me to adjust their sizes to get them both about the same size. Leave a nice long tail and weave it all over your ball. The longer the string the more you have to weave and the less likely your ball will come unwrapped.

Easy part over.
Crochet a cover
Keep in mind that you want your dryer ball to fit nice and tightly snug inside the covering.
1. Magic loop, 6 SC in magic loop (6)
2. 2 SC in each ST around (12)
3. *2 SC, SC next ST* repeat around (18)
4. *2 SC, SC next 2 ST* repeat around (24)
5. *2 SC, SC next 3 ST* repeat around (30)
6. *2 SC, SC next 4 ST* repeat around (36)
At this point I like to weave in my start strand (don't want to forget it!)
7-11. SC each ST around (36)
12. *SC decrease, SC next 4 ST* repeat around (30)
At this point place your wound ball of yarn into your covering
13. *SC decrease, SC next 3 ST* repeat around (24)
14. *SC decrease, SC next 2 ST* repeat around (18)
15. *SC decrease, SC next ST* repeat around (12)
16. SC decrease each ST around (6)
Weave your end through your six stitches and pull closed and weaved in end.
On To Felting
This is where the blog link from above comes into play, I did remember the felting method that she used and used it with these. Felting is a lot of work! I'll give you some basics of how I felt mine and then I'll give you some tid-bits of wisdom or you can head back to the blog I used. Down below is a link to her felting page.
prettystitches.wordpress.com/felted-wool-dryer-balls/felting

Alright, I am a cheater, I don't follow the whole process from above. I probably actually half it and let my dryer do the work over a LONG period of time. I boil a large pot and boiled all the balls of the same color. I hold them under the water with tongs to help them fill with the water. Let them boil for a few minutes and then throw them in an ice bath. This process is all about time. Let them sit in the ice water, I like to squeeze mine to fully empty the hot water from them and let the cold water completely in. Then repeat! squeeze out the cold water and throw them back into the boiling water to start all over. I do this probably four to five times. Then after coming out of the cold water for the last time I let them dry on a towel and rotate them to new dry spot or a new towel until they are dry. Then its off to the dryer!
Tid-bits of Wisdom
1. This boiling process comes with a certain smell. I imagine its what a hot wet sheep would smell like haha
2. Boil all the same color. Your water is going to draw a little bit of color from your yarn. DONT WORRY!!!! it doesn't mean your clothes will be colored in the dryer.
3. Don't expect great things right off the bat. Although I love dryer balls, the first few times of use there is still a little static.

Overall
This was a long process to make 36! I won't be doing anymore in the near future. On a smaller scale a person could buy two balls of yarn and produce 3 dryer balls. Small batches are easy to make, I usually make my wound yarn while watching a TV show. The covering is a basic ball pattern in crochet, easily adapted for many other projects. Could be a very easy project for a beginner with little out of pocket cost (two balls and a crochet hook) and have a lasting result.
Head on out people and start making! Replace those dryer sheets that are slowly eating up your money.
Etsy
If you just aren't in for all the work then head on over to the Etsy Store, LyssaLousCustomCraft. I don't have dryer balls in the shop but please don't let that stop you from placing a custom order for your own personal set. While there take a peek around! you might see something you love!
Thanks for stopping by everyone and enjoy!
Happiness is Homemade!
Alyssa


